
Hey ya'll... with Spring finally making an appearance, I wanted to share a little update on our DIY RV Remodel. If you've been following along for a while, waiting to see our remodel updates.. then thank you for your patience!! If not, welcome!Around Halloween, Tim and I bought a 1985 Toyota Coachmen Mini Motorhome and named her Yoda.

When we talked to the previous owners they mentioned she previously had water damage, but that they had fixed the issues by rebuilding the damaged areas and sealing the roof. At first glance, it was really cute and seemed like we'd only have to do some cosmetic work and replace the broken appliances. The fixes should have been easy, and I honestly thought we'd be packing our stuff up to leave by now. Boy, was I wrong!
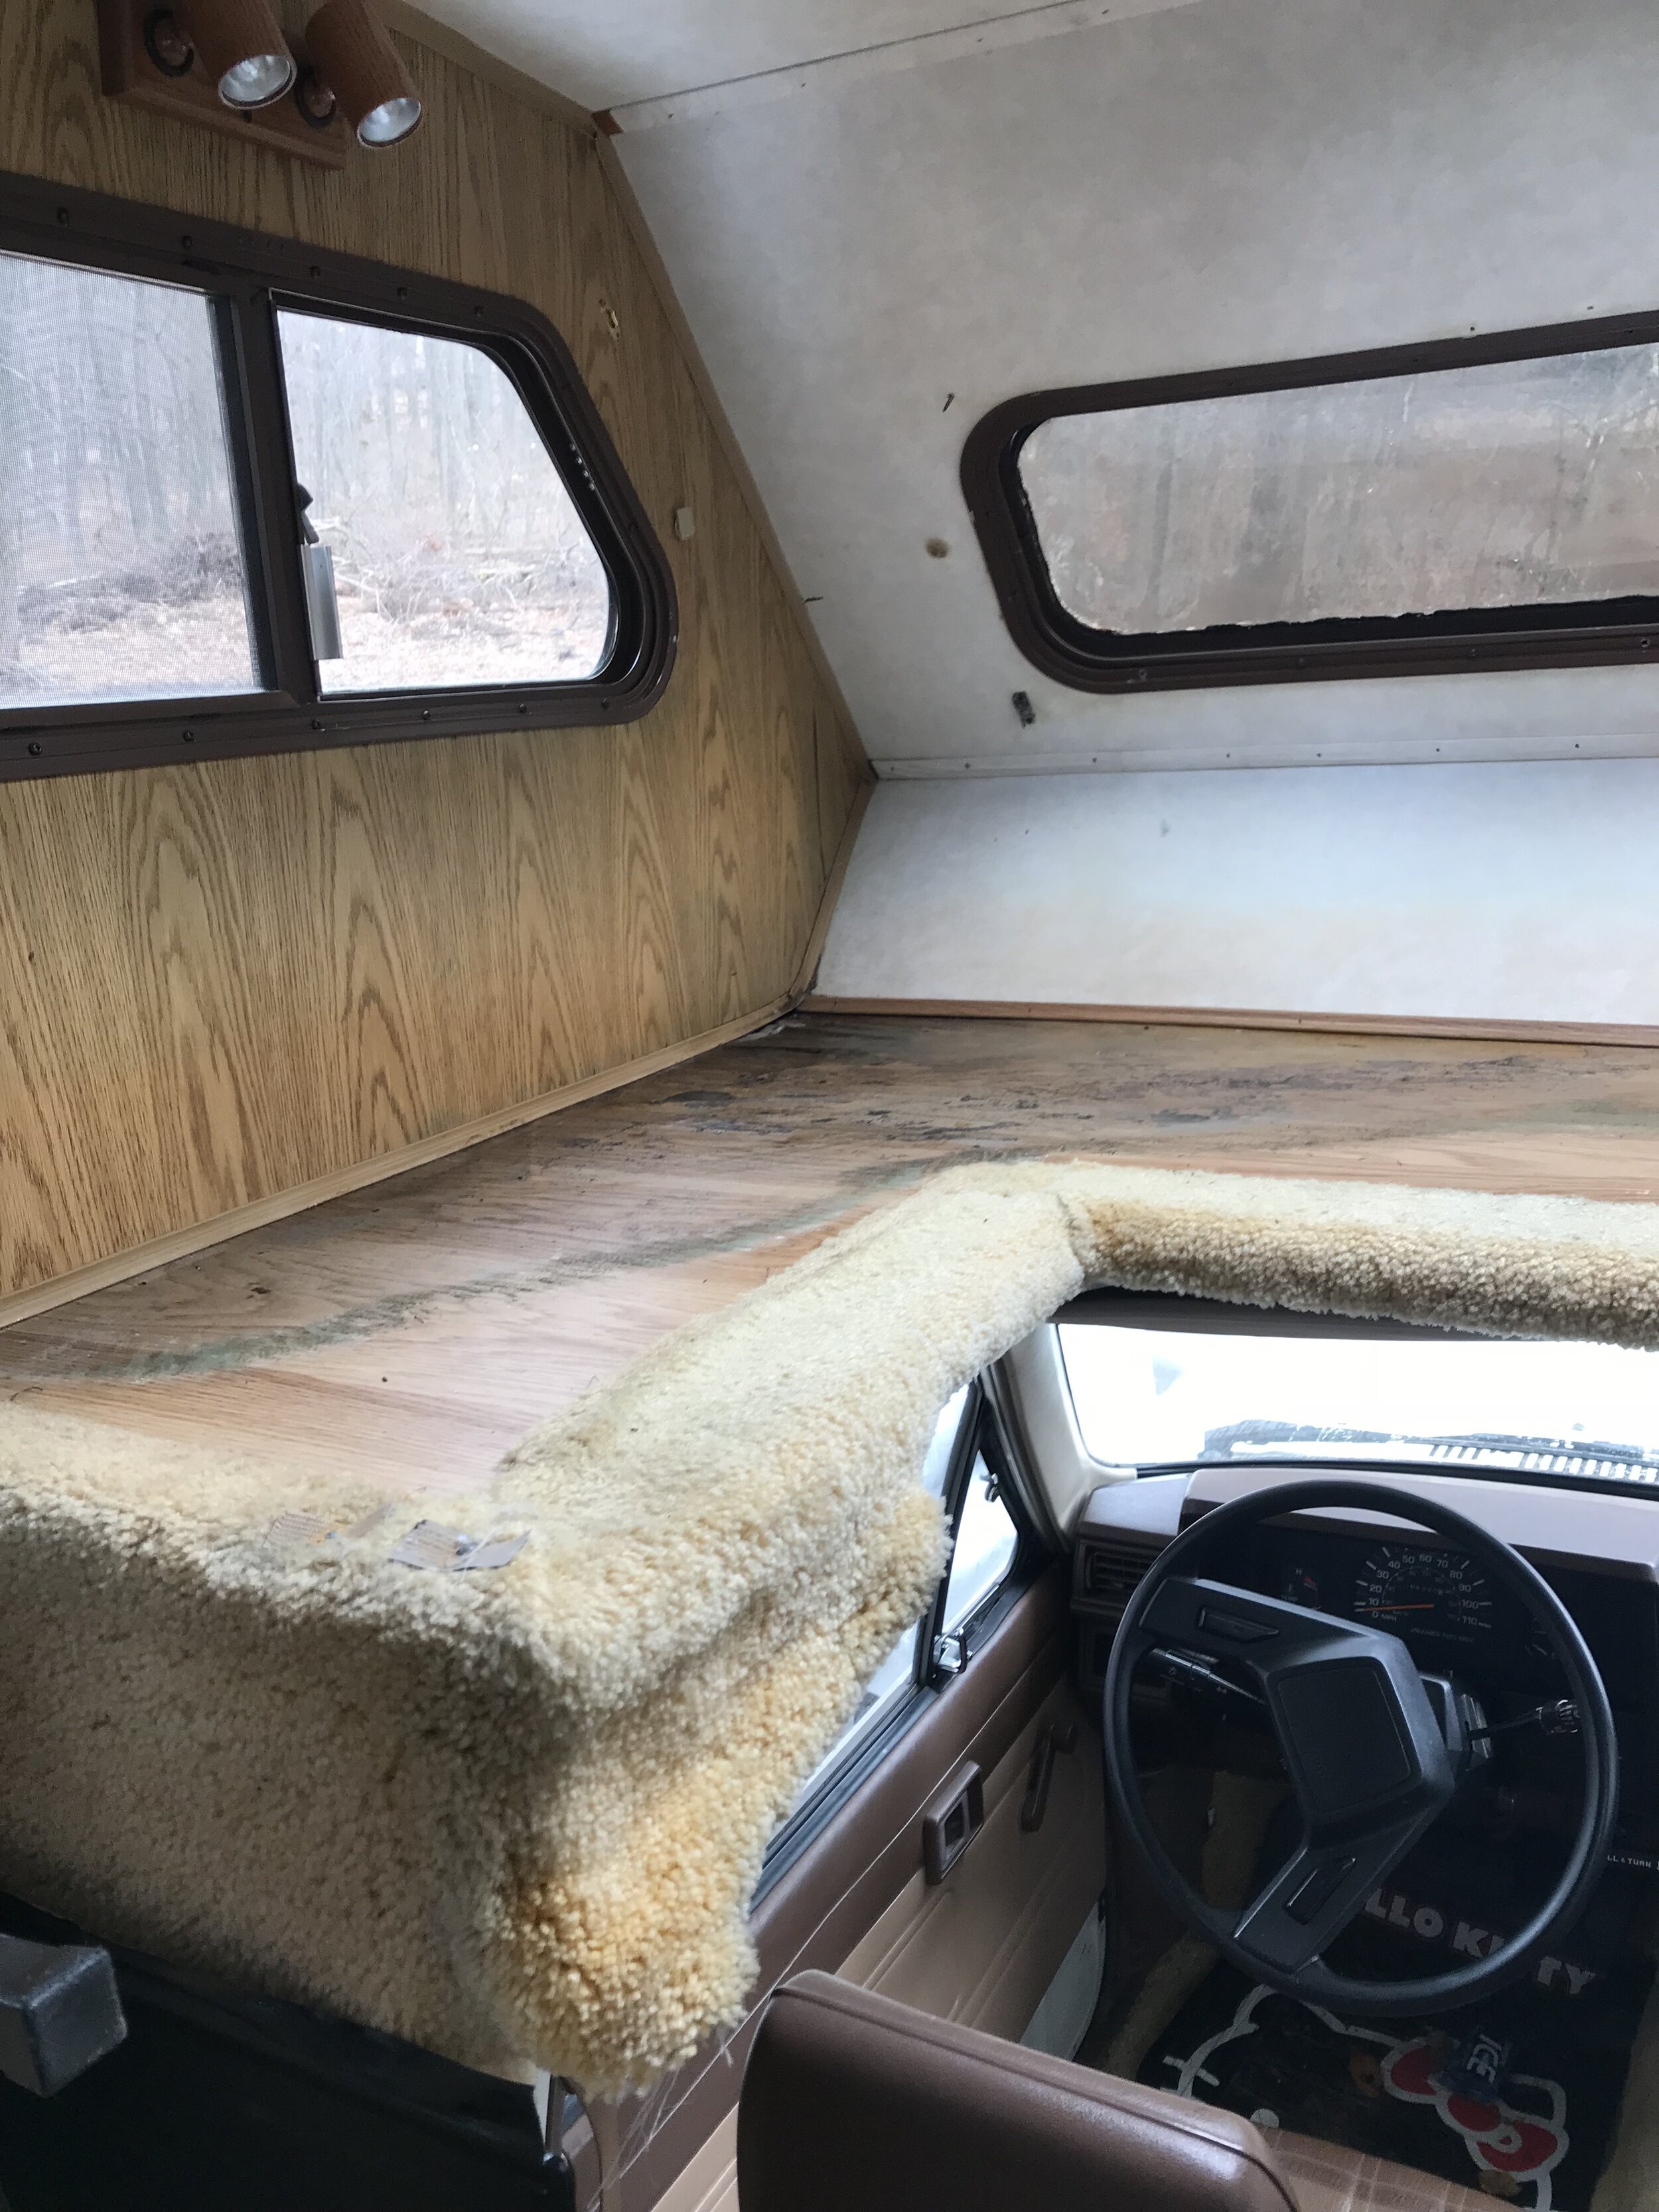
Sometime in February, we had some beautiful 70° days that gave us a chance to finally take the cover off of the RV and check out what was going on inside. Immediately, we could tell that we had a moisture issue. Since the most common place for water damage is over the cab, that's where we checked first. Sure enough, there was some mold and very damp wood underneath.
Next, we moved to the area where the previous owner had replaced the ceiling and covered it with Coca-Cola printed vinyl tablecloths. When we first saw these covering the ceiling, we kind of knew there would be a mess under there... but felt hopeful (and naive!). Our suspicions were confirmed when we pulled down the material and found more mold and moisture underneath, especially around the doorway.
RV Remodel: Operation Waterproof
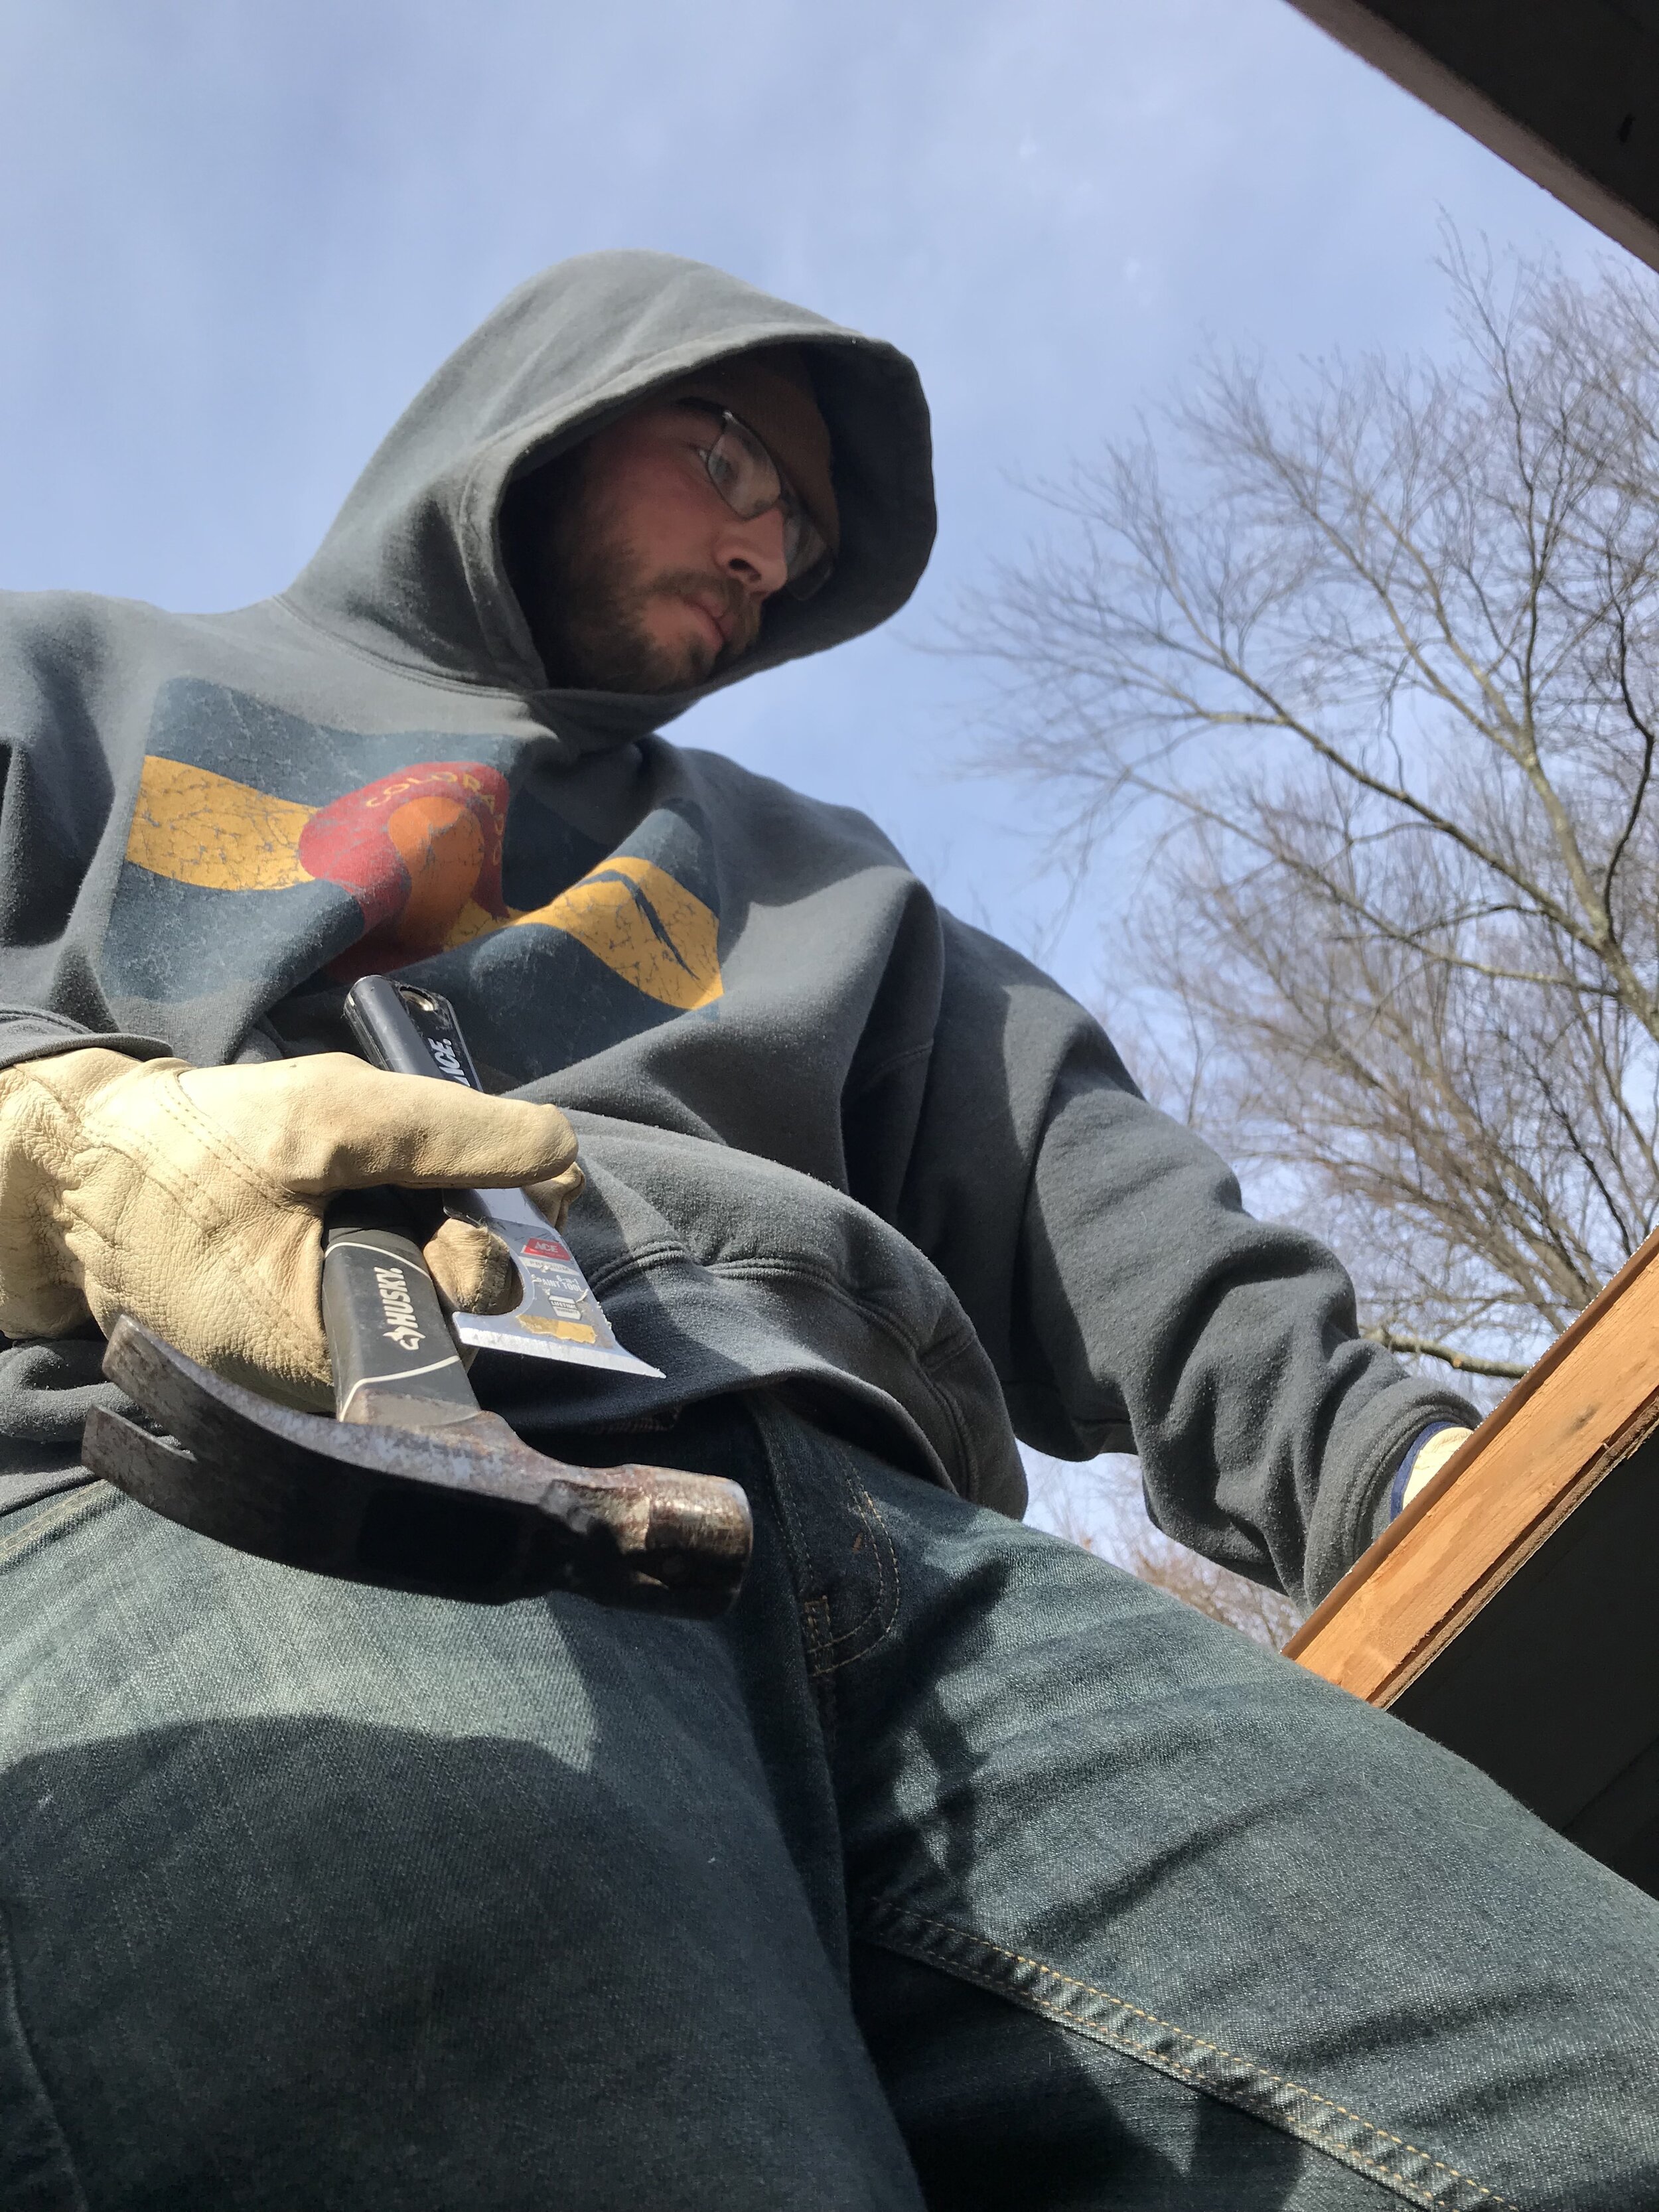
Once we found all of this water damage, sealing the roof and seams moved to the top of our to-do list. Before we can seal anything, we need to replace the 2 roof vents, escape hatch, and air conditioner. In my naive girl brain, this should be a quick task that we could knock out in a weekend.We (by we, I mean Tim), started with the escape hatch over our bed because it was broken and most likely the primary party responsible for our front-end water damage.
When we bought Yoda, the hatch cover had been replaced with a cracked piece of plexiglass. I'm not sure why we didn't think this was an urgent issue to fix before winter... hindsight is 20/20, I guess!To remove and replace this one escape hatch took 3 days because there was so much old sealant on the roof that needed to be scraped off if we wanted to get a good seal this time around.
When Tim went to install the new hatch, it was less than an inch too small for the existing hole in our roof. We made it work, but I have a feeling that running into issues like this will happen frequently.The next steps in Operation Waterproof are:
Replace 2 roof vents & rooftop AC Unit.
Replace ceiling in the back half of the cab. We're not sure what that will entail exactly... this part could be a big mess!
Seal roof with Flex Seal Liquid Rubber.
Scrape old sealant off of seams and re-seal. We have Eternabond tape for the roof seams but aren't sure which product is best for the seams around the cab and windows. (Any suggestions would be welcomed!)
I'm sure I could add 10 more unexpected items to that list, but for now... that's our current plan of attack for waterproofing our RV.
RV Remodel: Interior Progress
Over the past couple of weeks, I've been able to make some solid progress on remodeling the interior part of our RV. My first major project was to reupholster the furniture because it's removable, so I was able to work on it inside the house. I used Mexican blankets to reupholster the couch, and round tapestries to cover the chairs. I'm pretty obsessed with how the furniture came out. It really transformed the entire space! (I wrote a step-by-step tutorial on how I did it, check that out here!) After finishing the furniture, we had a photoshoot with Go Local magazine. So we replaced the furniture and dressed Yoda up real nice for a day... then took everything out again.

Over this past weekend, our best friends came to visit and helped sand, clean, and prime all of the walls and cabinets in the interior. Having some extra hands to help and motivate made a big difference in our productivity! Because of their help preparing everything, I was able to paint almost the entire cabin yesterday! Since we're expecting some nice weather coming up, I'm hopeful that I'll be able to finish up the second coat of paint by the end of the week.The next interior RV remodel projects we plan on tackling are:
Hang curtain rods and sew curtains for the cabin.
Replace knobs for drawers and cabinets.
Cover the countertops & backsplash. (peel & stick/contact paper all day!)
Gut/clean out the bathroom for remodeling. (not actually sure what this entails yet.)
Repair & paint cab-over area.
RV Remodel: Lessons Learned
Since we have more than enough to keep us busy for the next few weeks, I'm trying sooooo hard not to get too carried away making plans for things we need to fix. (Try being the operative word. It's pretty impossible for me not to get carried away.) Even though we haven't made it nearly as far with our RV remodel as I expected we would at this point... we've learned a few important lessons.
1. Campers are not made to withstand the test of time. After doing a little bit of investigation, we've come to find out that our camper is basically made of cardboard and toothpicks with an aluminum foil shell. Every time we take it on the road, it sounds like the entire cabin is going to fall apart.
2. Things never go as planned. Quick tasks turn into month-long projects. The weather will be bad at the worst possible times. When taking on an RV remodel expect the unexpected or you'll drive yourself crazy.
3. The list of things that we could and should do to our RV is literally never ending. Prioritizing what's most important and tabling other projects for later is imperative if we ever want to hit the road.
Hopefully, the fact that temperatures will reach the 70's this weekend is a sign of better weather to come! Regardless of the weather, we need to keep pushing forward with our RV remodel at all possible opportunities. Our initial plan was to leave on May 1st, but as that date rapidly approaches, we've realized that's just not realistic anymore. (We definitely didn't plan for snow in April.) Since Tim's last day of work is April 27th, we should be able to get work done more rapidly after that.